
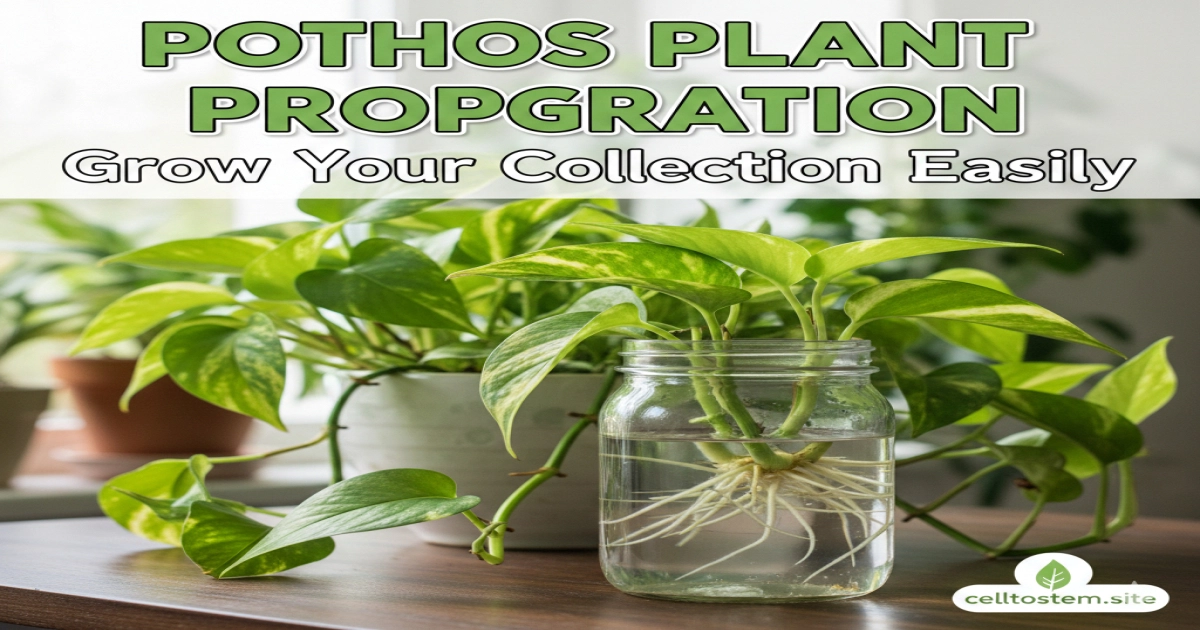
Do you admire the lush, trailing vines of a Pothos plant and dream of filling your home with more of its vibrant foliage? You’re in luck! Propagating your houseplants is a sustainable and rewarding way to expand your indoor jungle without spending a dime. This comprehensive guide will transform you into a plant propagation expert, focusing on practical, step-by-step techniques for multiplying your favorite indoor trailing plant. Whether you’re a beginner or looking to refine your skills, we’ll cover everything you need to know to successfully propagate your Epipremnum aureum, also known as devil’s ivy plant or golden pothos, and many other beloved houseplants.
Understanding Plant Propagation: The Basics of Plant Multiplication
Plant propagation is simply the process of creating new plants from existing ones. It’s a natural phenomenon that happens in the wild, and with a little understanding, you can replicate it at home. For many popular houseplants, including the resilient Pothos plant, this usually involves taking cuttings from a “mother” plant and encouraging them to grow roots. This method, known as vegetative propagation, creates genetic clones of the parent plant, ensuring your new plants will have the same desirable traits.
Why Propagate?
- Expand Your Collection: Get more plants for free!
- Share with Friends: Spread the joy of plants.
- Rejuvenate Plants: Breathe new life into leggy or old plants.
- Save Money: No need to buy new plants when you can grow them.
As a horticulture enthusiast with years of experience, I’ve found that the sheer joy of watching a tiny cutting develop roots and grow into a robust plant is incredibly satisfying. It’s a testament to nature’s resilience and your nurturing care.
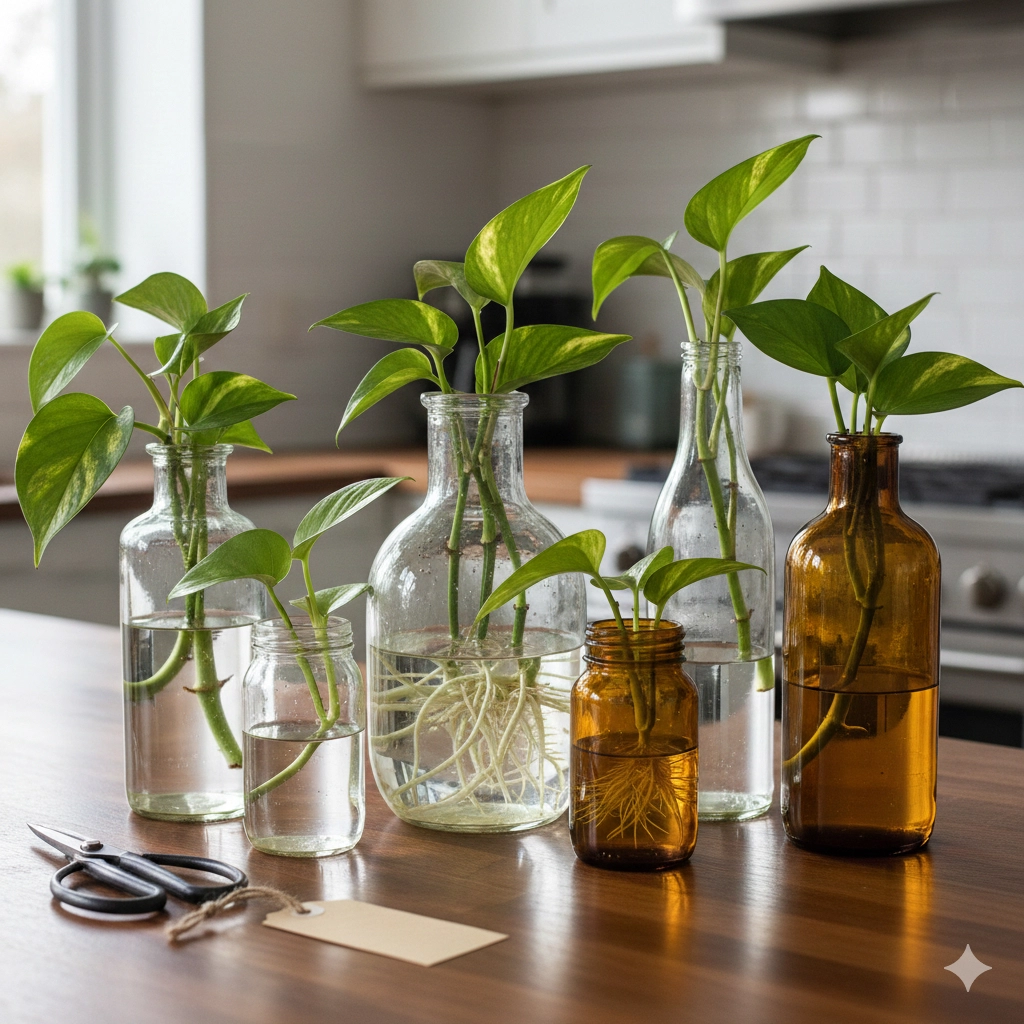
Water Propagation Methods for Beginners: The Clear Path to Roots
Water propagation is often recommended for beginners due to its simplicity and the fascinating visual of roots developing. It’s a fantastic way to learn about the process and observe growth firsthand. Many easy care houseplants thrive with this method.
Identifying Nodes: The Key to Success
The most crucial step in water propagation is correctly identifying a “node.” A node is a small bump or joint on the stem where a leaf, branch, or aerial root emerges. This is where new roots will form. For a Pothos plant, nodes are usually quite prominent.
Apartment Example: Imagine your Pothos plant (a perfect low maintenance plant) cascading from a bookshelf in your living room. You notice a long vine with several leaves and small bumps along the stem. These bumps are your nodes!
Taking Cuttings for Water Propagation
- Select a Healthy Stem: Choose a vibrant, disease-free stem from your mother plant. Avoid old, woody stems or very new, tender growth.
- Make a Clean Cut: Using sharp, clean scissors or pruners, cut a section of stem that includes at least one to two nodes and one or two leaves. Make the cut just below a node. Aim for a cutting that is 4-6 inches long for optimal rooting.
- Remove Lower Leaves: Gently remove any leaves that would be submerged in water. Leaves left in the water can rot and contaminate the water, hindering root development.
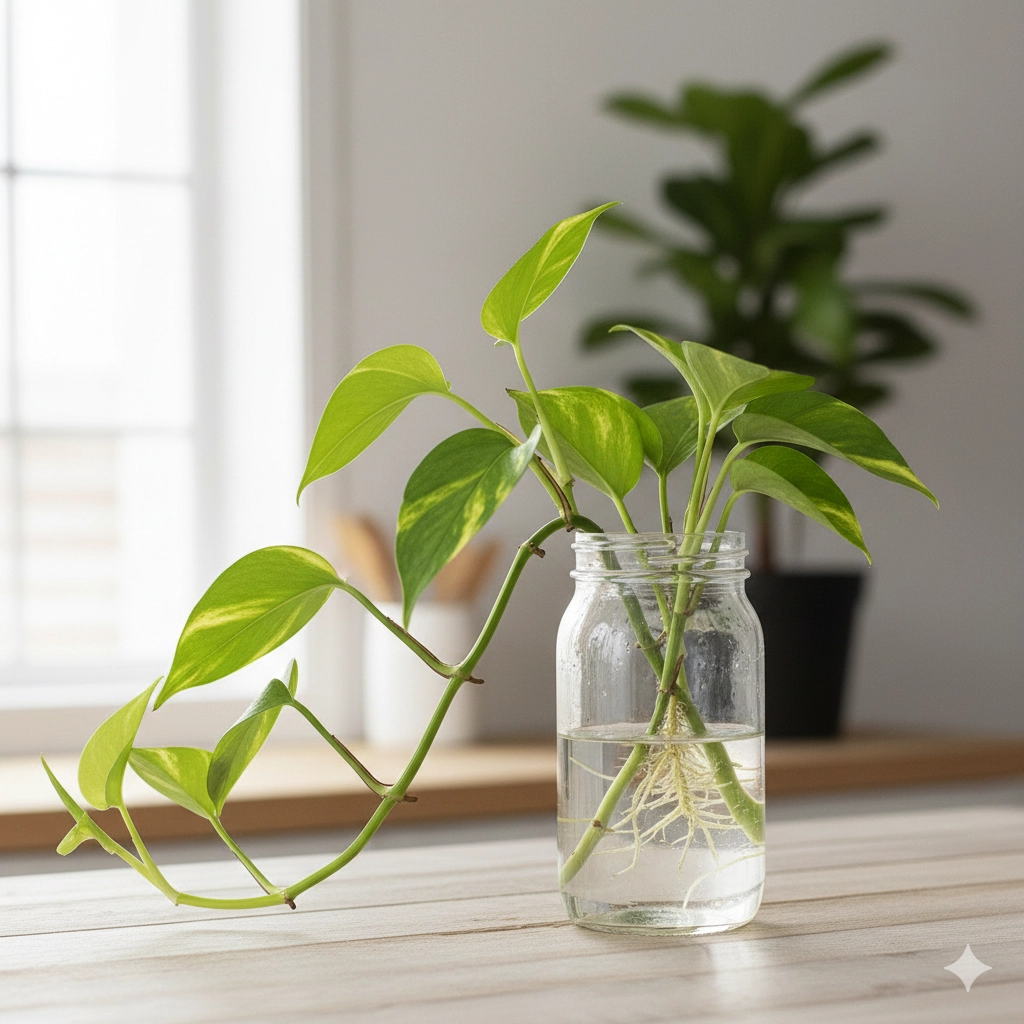
- Place in Water: Put the cutting in a clean glass or jar filled with room-temperature water. Ensure at least one node is fully submerged.
- Location, Location, Location: Place your propagation vessel in a spot with bright, indirect light. Avoid direct sunlight, which can overheat the water and stress the cutting. A north-facing window sill or a spot a few feet from an east or west window is ideal.
Cause and Effect: If you leave leaves in the water, they will decompose, leading to bacterial growth. This bacteria can prevent new roots from forming and may even cause the stem to rot.
Water Quality and Changes
- Tap Water is Usually Fine: Most tap water is suitable for propagation. If your tap water is heavily chlorinated, let it sit out for 24 hours to allow the chlorine to dissipate.
- Change Water Regularly: Change the water every few days, or at least once a week. This replenishes oxygen and removes any potential contaminants.
- Optional: Rooting Hormone: While not strictly necessary for a Pothos plant, a small amount of liquid rooting hormone can speed up the process. Follow product instructions carefully.
Apartment Example: You’ve placed your Pothos plant cuttings in a clear glass jar on your kitchen counter, which receives ample indirect light. Every few days, while making coffee, you quickly refresh the water, ensuring it stays clean and clear.
It typically takes a few weeks to several months for roots to develop sufficiently for potting. You’re looking for roots that are at least 1-2 inches long before moving to soil.
Soil Propagation Techniques: Rooting Directly for a Sturdier Start
Soil propagation, while perhaps less visually dramatic than water propagation, can often lead to a more robust root system and a smoother transition for the new plant. It’s an excellent method for many foliage plants and vining plants.
Preparing Cuttings for Soil Propagation
The initial steps for taking cuttings are similar to water propagation:
- Select and Cut: Choose healthy stems and make clean cuts, ensuring each cutting has at least 1-2 nodes. For soil, aim for slightly longer cuttings, around 4-8 inches, with 2-3 leaves at the top.
- Remove Lower Leaves: Again, remove any leaves that would be buried in the soil.
- Optional: Rooting Hormone: Dipping the cut end of the stem into rooting hormone powder or gel is highly recommended for soil propagation. This significantly increases the chances of success and promotes faster rooting.
Cause and Effect: Rooting hormone contains auxins, plant hormones that stimulate cell division and root development. Without it, some plants may struggle to root in soil, leading to rot.
Potting Your Cuttings
- Choose the Right Pot: Small pots (2-4 inches in diameter) with drainage holes are ideal. Overly large pots hold too much moisture, which can lead to rot.
- Use a Well-Draining Medium: A light, airy potting mix is crucial. A mix of peat moss, perlite, and vermiculite works well, or a specific “seed starting” or “propagation” mix. Avoid heavy garden soil.
- Create a Hole: Use a pencil or finger to make a small hole in the center of the potting mix.
- Insert Cutting: Carefully insert the cutting into the hole, ensuring at least one node (preferably two) is beneath the soil surface. Gently firm the soil around the cutting to provide support.
- Water Lightly: Water the newly potted cutting lightly. The goal is moist, not soggy, soil.
Apartment Example: You’ve decided to propagate your best Pothos plant for hanging baskets directly into soil. You’ve gathered some small terracotta pots, a bag of seed-starting mix, and a bottle of rooting gel. After taking your cuttings, you dip them and gently plant them, placing them on a tray near your brightest window.
Creating a Humid Environment
Humidity is key for successful soil propagation, as it reduces water loss from the leaves while the cutting is trying to grow roots.
- Plastic Bag Method: Place a clear plastic bag over the pot and cutting, creating a mini-greenhouse. Ensure the bag doesn’t touch the leaves too much.
- Propagation Dome: Use a dedicated propagation dome, which fits snugly over a tray of cuttings.
- Pebble Tray: Place the pot on a tray filled with pebbles and a shallow layer of water. As the water evaporates, it increases humidity around the plant.
Cause and Effect: High humidity helps prevent the cutting from drying out, giving it more time to develop roots before it needs to rely on them for water uptake. Without sufficient humidity, the cutting may wilt and die.
Essential Tools and Supplies: Your Propagation Arsenal
Having the right tools makes propagation easier and more successful. You don’t need a lot, but quality makes a difference.
- Sharp Pruners or Scissors: Clean, sharp tools prevent bruising and disease. Disinfect them with rubbing alcohol before and after each use.
- Small Pots with Drainage: For soil propagation.
- Propagation Trays/Domes: Useful for maintaining humidity.
- Rooting Hormone: Powder or gel (optional but recommended for many plants).
- Well-Draining Potting Mix: A blend for cuttings or seed starting.
- Clear Glass Jars/Vases: For water propagation.
- Gloves: If you have sensitive skin or are working with irritating sap.
- Labels and Markers: To keep track of different cuttings and propagation dates.
As advised by the Royal Horticultural Society, using clean tools is paramount to prevent the spread of diseases between plants, ensuring healthy propagation (RHS, “Plant propagation: general techniques”).
Identifying the Best Plants to Propagate: Your Green Candidates
While this guide focuses on the Pothos plant (which is truly the best Pothos plant for beginners), many other houseplants are excellent candidates for propagation. Look for plants that root easily from stem cuttings.
Easy-to-Propagate Houseplants:
- Pothos (Epipremnum aureum): All varieties, including golden Pothos, Marble Queen, and Neon. A fantastic air purifying plant.
- Philodendron: Heartleaf Philodendron, Brasil, Pink Princess.
- Tradescantia (Inch Plant): Very fast and easy to root.
- Spider Plant (Chlorophytum comosum): Propagate “plantlets” or “spiderettes.”
- Coleus: Striking foliage, roots quickly.
- Monstera (deliciosa, adansonii): Larger cuttings, often with aerial roots.
- Begonia (Rhizomatous types): Leaf or stem cuttings.
Apartment Example: You want to add more greenery to your bathroom, which is a good spot for a best Pothos plant for bathrooms due to its humidity tolerance. You notice your existing golden Pothos has long, healthy vines perfect for taking cuttings. You also have a leggy Tradescantia you’d like to rejuvenate, so you take cuttings from both.
Common Mistakes and Troubleshooting: Learning from Experience
Even experienced propagators encounter challenges. Understanding common issues can help you troubleshoot and improve your success rate.
Common Mistakes:
- Using Dull or Dirty Tools: Causes damage and introduces disease.
- Not Enough Nodes: Roots grow from nodes; too few means little chance of success.
- Too Much Water (Soil Prop): Leads to rot and fungal issues.
- Not Enough Humidity (Soil Prop): Cuttings dry out before rooting.
- Incorrect Lighting: Too much direct sun can scorch, too little can inhibit growth.
- Impatience: Propagation takes time; resist the urge to constantly check.
Troubleshooting:
- Rotting Cuttings:
- Cause: Too much moisture, dirty water/tools, or bacterial/fungal infection.
- Solution: Trim off rotten parts with clean tools, change water or refresh soil, ensure good drainage and aeration.
- Wilting Cuttings:
- Cause: Not enough water uptake (roots not formed), low humidity, too much direct sun.
- Solution: Increase humidity (for soil prop), ensure water is clean (for water prop), move to a shadier spot.
- No Root Growth:
- Cause: Unhealthy mother plant, lack of nodes, improper temperature, or simply too early.
- Solution: Ensure healthy cuttings, appropriate nodes, maintain consistent warmth, and be patient. Sometimes, adding rooting hormone can help.
Cause and Effect: If your soil-propagated Pothos plant cuttings are constantly wilting, it’s likely due to low humidity. The leaves are losing water faster than the undeveloped roots can absorb it, causing them to droop. Increasing humidity will reduce this water loss.
Aftercare for New Propagations: Nurturing Your New Growth
Once your cuttings have developed a robust root system (typically 1-2 inches for water propagation, or noticeable new leaf growth for soil propagation), it’s time to transition them into their permanent homes.
Acclimatizing Water Cuttings to Soil
This is a critical step to prevent “transplant shock.”
- Prepare the Pot: Use a small pot (4-6 inches) with fresh, well-draining potting mix.
- Plant Gently: Create a hole in the soil and carefully place the rooted cutting, ensuring the roots are spread out and not cramped. Fill in with soil, gently firming around the base.
- Water Thoroughly: Water until water drains from the bottom.
- Gradual Acclimatization: For the first week or two, treat the newly potted plant gently. Keep it in a slightly shadier spot than usual and maintain higher humidity if possible (e.g., a pebble tray). This helps the tender water roots adapt to the soil environment. Gradually move it to its permanent, brighter location.
Apartment Example: You’ve successfully rooted several Pothos plant cuttings in water. You pot them individually into small pots with fresh potting mix. For the first week, you place them near your existing best Pothos plant for offices, where they receive gentle, indirect light and benefit from the ambient humidity of the room.
Continued Care for Young Plants
- Watering: Water when the top inch of soil feels dry. Young plants may need slightly more frequent watering as their root systems develop. Avoid overwatering.
- Light: Provide bright, indirect light. While Pothos plant is known as a best Pothos plant for low light, all plants benefit from good light when establishing.
- Fertilizing: Wait at least 2-3 months before fertilizing new propagations. Their tender roots can be sensitive to fertilizers.
- Humidity: Continue to provide adequate humidity, especially during dry indoor seasons. A humidifier or pebble tray can be beneficial for your air purifying plant.
- Pest Watch: Keep an eye out for pests. Young, stressed plants can be more susceptible.
Advanced Tips for a Bushier Pothos Plant and More
Once you’ve mastered the basics, you can experiment with techniques to create even more impressive plants.
Multiple Cuttings for a Fuller Look
Instead of planting just one rooted cutting per pot, plant several! Grouping 3-5 rooted Pothos plant cuttings in a single pot will result in a much fuller, bushier plant right from the start. This is especially effective for best Pothos plant for hanging baskets.
Apartment Example: You want your climbing plant to look abundant quickly. Instead of potting one rooted cutting, you combine three into a larger decorative pot, giving it a lush, established appearance from day one.
Air Layering: Rooting While Attached
Air layering is a method where roots are encouraged to grow on a stem while it’s still attached to the mother plant. This is particularly useful for woody stems or plants that are difficult to root from cuttings. While less common for Pothos plant, it can be done for larger, more mature sections.
- Select a Stem: Choose a healthy stem, ideally one that has a node.
- Make an Incision: Make a small, upward slanting cut about one-third of the way through the stem at a node. You can also lightly scrape away a small ring of outer bark.
- Apply Rooting Hormone: Apply rooting hormone to the cut area.
- Wrap with Moss: Pack moist sphagnum moss around the cut area, forming a ball.
- Cover: Wrap the moss ball tightly with plastic wrap or aluminum foil, securing the ends.
- Wait for Roots: Check periodically for roots to grow into the moss. Once a good root ball has formed, cut the stem below the new roots and pot it up.
Conclusion: Your Journey to a Fuller, Greener Home
Propagating your Pothos plant and other houseplants is a simple yet incredibly rewarding aspect of indoor gardening. From identifying nodes to providing the perfect aftercare, each step brings you closer to a thriving collection of green companions. Remember the key principles: clean tools, healthy cuttings, appropriate light, and consistent moisture (without overdoing it). Embrace the process, observe your plants, and soon your home will be overflowing with beautiful, self-propagated greenery. As an easy care houseplant and a low maintenance plant, the Pothos is the perfect starting point for your propagation adventures.
Key Takeaways for Successful Plant Propagation:
- Node Identification is Crucial: Roots emerge from nodes; ensure your cutting includes at least one.
- Cleanliness Prevents Disease: Always use sharp, disinfected tools.
- Humidity is Your Friend: Especially for soil propagation, higher humidity aids root development.
- Patience is Key: Propagation takes time. Don’t constantly disturb cuttings.
- Start with Easy Plants: Pothos, Philodendron, and Tradescantia are excellent for beginners.
- Transition Gently: Acclimatize water-rooted cuttings to soil gradually to prevent shock.
- Aftercare Matters: Provide proper light, water, and humidity for your new plants to thrive.
- Experiment and Learn: Don’t be afraid to try different methods and learn from your experiences.
Thank You For Visiting Our Website https://celltostem.site/. We Value Your Feeback!