
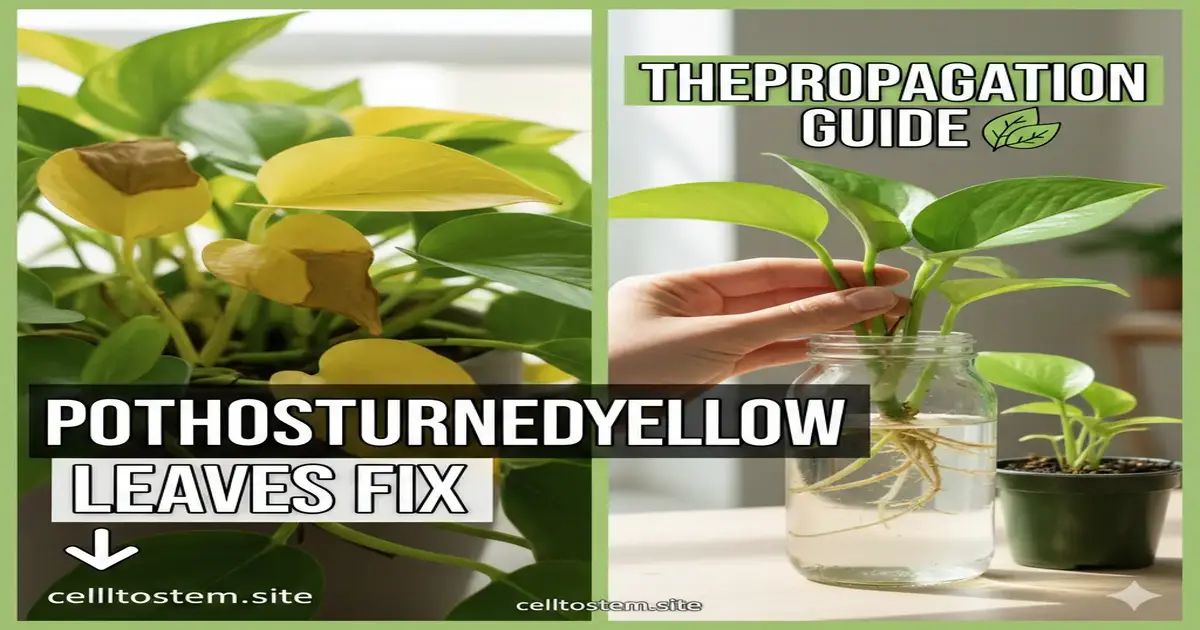
If you have ever noticed your favorite trailing vine looking a bit lackluster, you might be searching for a pothos plant turning yellow leaves fix. While yellowing—often referred to as pothos leaf chlorosis treatment—can signal overwatering or a pothos plant nutrient deficiency, it is also the perfect invitation to start fresh through propagation. Propagation is the botanical process of creating new plants from existing ones. For the indoor gardener, this is the most sustainable way to expand a collection without spending a dime. By understanding how a plant grows, you can turn a single leggy stem into a lush, multi-plant display.
The Science of Nodes and Auxins
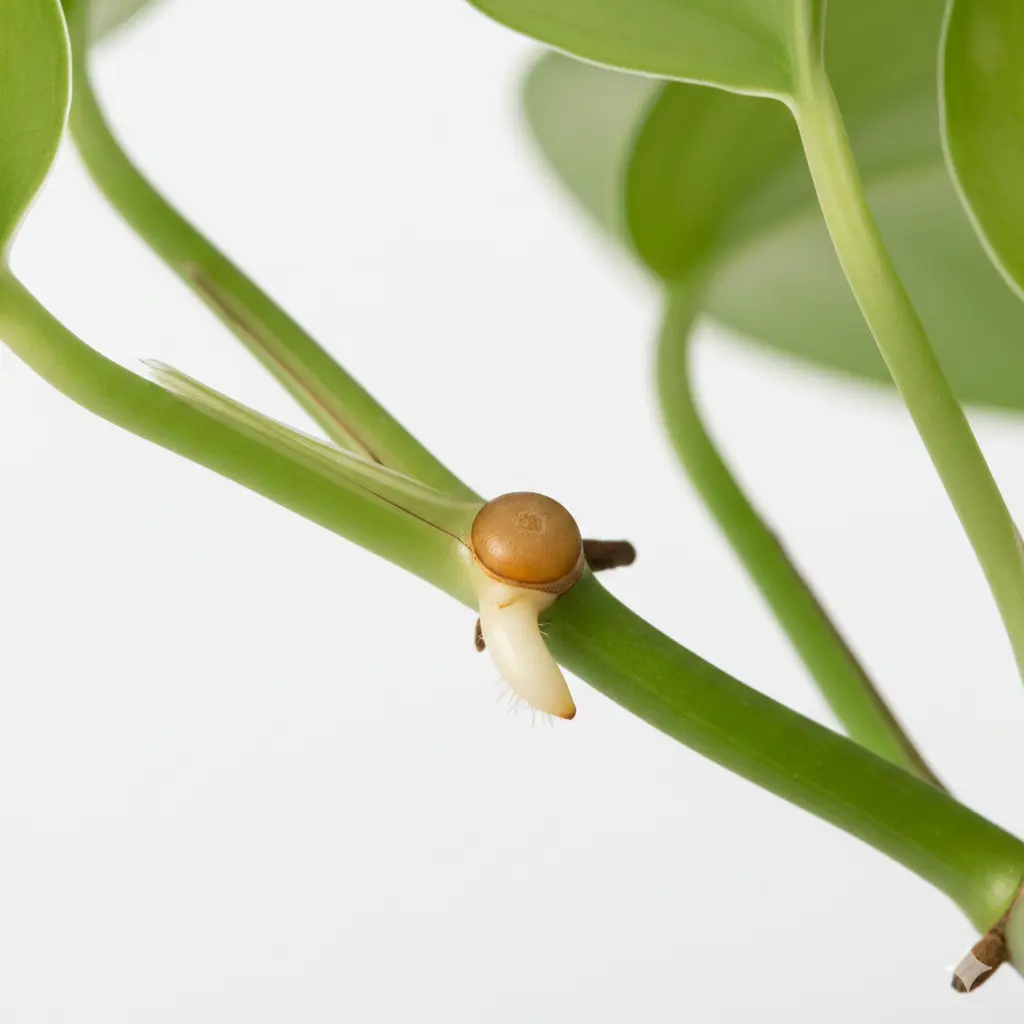
To propagate successfully, you must identify the node. The node is the small, raised bump on a stem where leaves and aerial roots emerge. This area contains a high concentration of meristematic cells and auxins (growth hormones) necessary for developing new root systems.
Apartment Example: If you are living in a low-light studio and your Epipremnum aureum (Pothos) is stretching toward the window, those long gaps between leaves are “internodes.” Cutting just below the node allows you to turn that leggy growth into a new, compact plant.
Identifying the Best Plants to Propagate
Not all plants are created equal when it comes to cloning. While the best care routine for pothos plants makes them the easiest starting point, other species follow similar rules.
Top Candidates for Beginners
- Vining Plants: Pothos (Epipremnum aureum), Heartleaf Philodendron, and Monstera adansonii.
- Succulents: Jade plants and Echeveria (which use leaf cuttings).
- Clumping Plants: Peace Lilies and Snake Plants (which use division).
Spotting Pothos Plant Stress Symptoms
Before you cut, ensure the parent plant is healthy. If you see devil’s ivy leaf discoloration or pothos plant variegation issues, the cutting may struggle. Variegation—those beautiful white or yellow splashes—requires more light to maintain. If the mother plant is struggling with pothos plant temperature tolerance (usually below 50°F), wait until the plant stabilizes before propagating.
Water Propagation Methods for Beginners
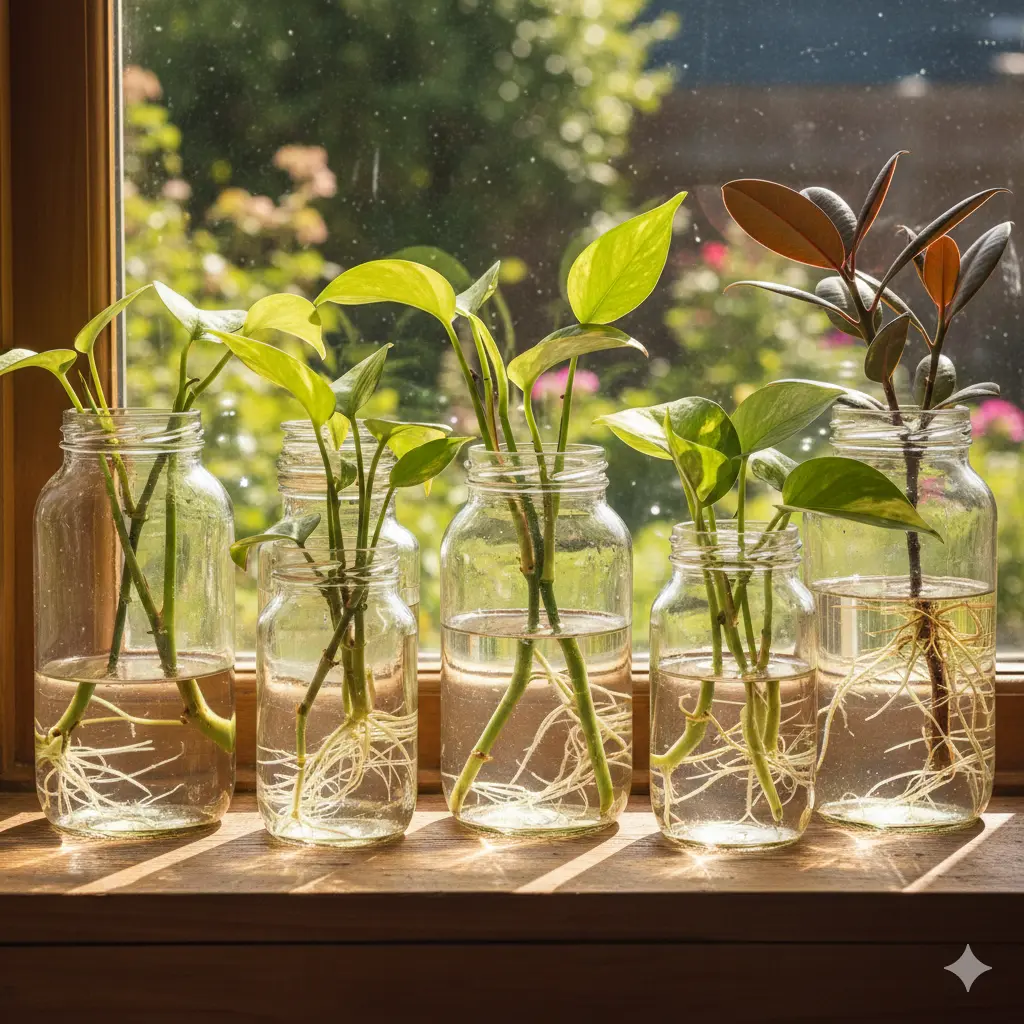
Water propagation is the most popular method because it allows you to see the roots growing in real-time. This visual feedback is essential for troubleshooting pothos plant root health.
Step-by-Step Water Rooting
- Select Your Cutting: Choose a healthy vine with at least 3–4 leaves.
- Make the Cut: Using the best pruning tools for pothos plants (sharp, sterilized shears), cut at a 45-degree angle about half an inch below a node. The angle increases surface area for water absorption.
- Strip Lower Leaves: Remove the leaf closest to the cut so no foliage is submerged, preventing rot.
- Placement: Place the cutting in a glass jar filled with filtered water.
Water Quality and Light
According to the Royal Horticultural Society (RHS), water quality matters. If your tap water is heavily chlorinated, let it sit out for 24 hours before use. Place your jar in the best light conditions for pothos growth: bright, indirect sunlight. Avoid direct mid-day sun, which can cook the delicate new roots.
Soil Propagation Techniques for Faster Transition
While water is easy, soil propagation often leads to stronger root systems. Plants rooted in water develop “water roots,” which are more fragile and must adapt once moved to a pot. Soil propagation skips this middle step.
Creating the Right Environment
To succeed, you need the best soil for pothos plant drainage. A mix of peat moss or coco coir with perlite ensures oxygen reaches the developing roots.
- Dip in Hormone (Optional): While Pothos roots easily, woody plants benefit from rooting powder.
- Planting: Insert the node directly into the moist soil mix.
- Humidity: Use a clear plastic bag to create a mini-greenhouse. The best humidity level for pothos plants during propagation is around 60–70%.
Apartment Example: In a dry, centrally-heated apartment, a simple humidity dome (like a chopped-off plastic soda bottle) can prevent a cutting from wilting before it has roots to drink with.
Essential Tools and Supplies
You don’t need a professional greenhouse, but the right tools prevent pothos plant propagation problems.
Common Mistakes and Troubleshooting
The most common issue gardeners face is the pothos plant turning yellow leaves fix. If your cuttings turn yellow, it is often a sign of epipremnum aureum yellow leaves caused by lack of oxygen in stagnant water or fungal infection.
Dealing with Pests and Rot
- Slimy Stems: This is bacterial rot. Wash the stem, change the water daily, and cut off any mushy parts.
- Pests: Inspect for Mealybugs or Spider Mites. Use the best pest control for pothos plants, such as a gentle neem oil spray or insecticidal soap, before bringing new cuttings near your main collection.
- No Roots: Ensure the room temperature is warm. Pothos thrive between 70°F and 85°F. If it’s too cold, growth will stall.
Aftercare for New Propagations
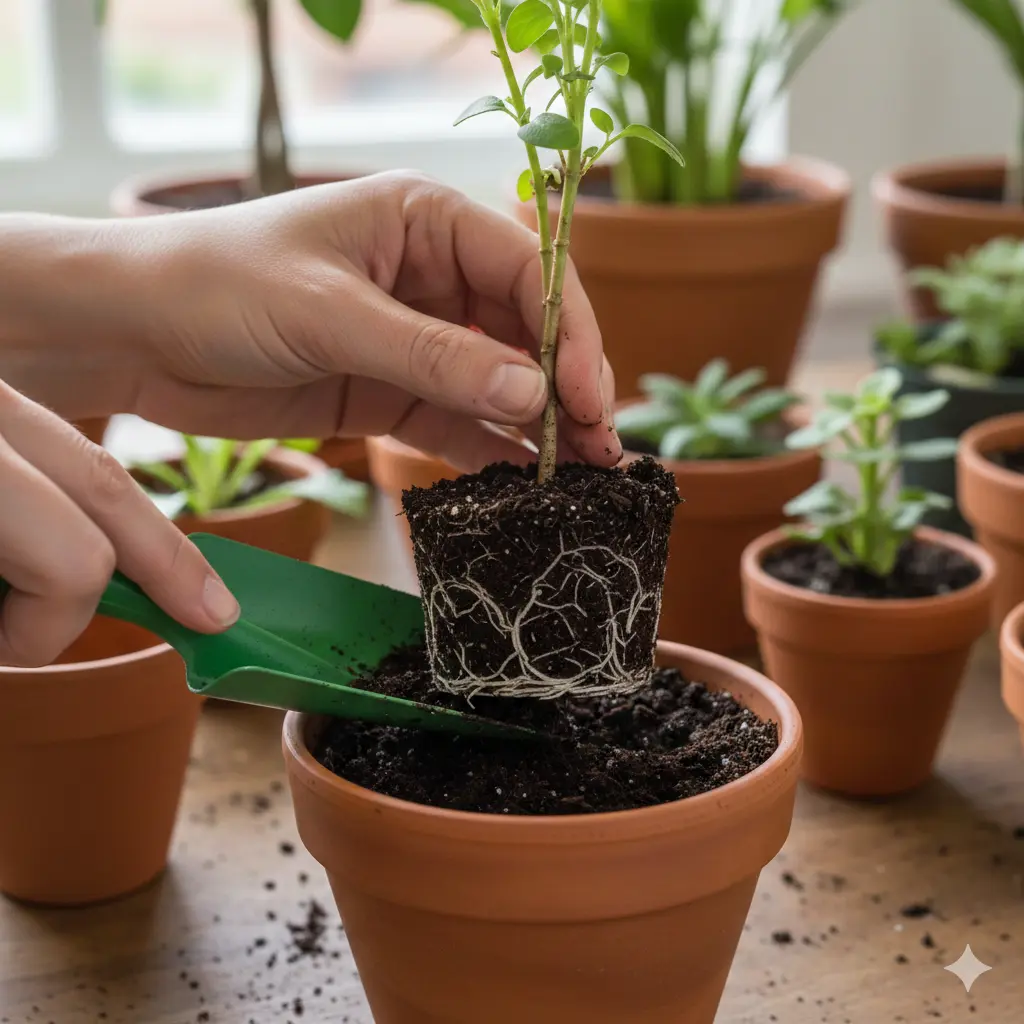
Once your roots are about two inches long, it is time for the best repotting time for pothos plants. This transition is the most sensitive phase of a plant’s life.
The Potting Process
Select a small pot; a common mistake is using a pot that is too large, which holds excess moisture and leads to rot. Use the best watering schedule for pothos plants—keep the soil slightly more moist than usual for the first two weeks to help water roots adjust to the soil.
Long-term Nutrition
After a month, you can begin a light feeding schedule. The best fertilizer for pothos yellow leaves is a balanced, water-soluble 20-20-20 formula diluted to half strength. This supports pothos plant air purification capabilities by encouraging large, healthy leaf surfaces.
Summary of Key Takeaways
- Identify Nodes: Always include at least one node in your cutting.
- Sterilize Tools: Clean shears prevent disease transmission.
- Light is Vital: Bright, indirect light is the engine for root growth.
- Fix Yellowing: Address pothos leaf chlorosis treatment by checking for overwatering or nutrient gaps before propagating.
- Size Matters: Use small pots for new babies to prevent “wet feet” and root rot.
Propagating your indoor garden is a rewarding, sustainable cycle. Whether you are solving a pothos plant turning yellow leaves fix or simply sharing the joy of greenery with a friend, these techniques ensure your urban jungle continues to thrive for years to come.
Thank You For Visiting Our Website https://celltostem.site/. We Value Your Feeback!